How to build a digital 3.5 bay clock
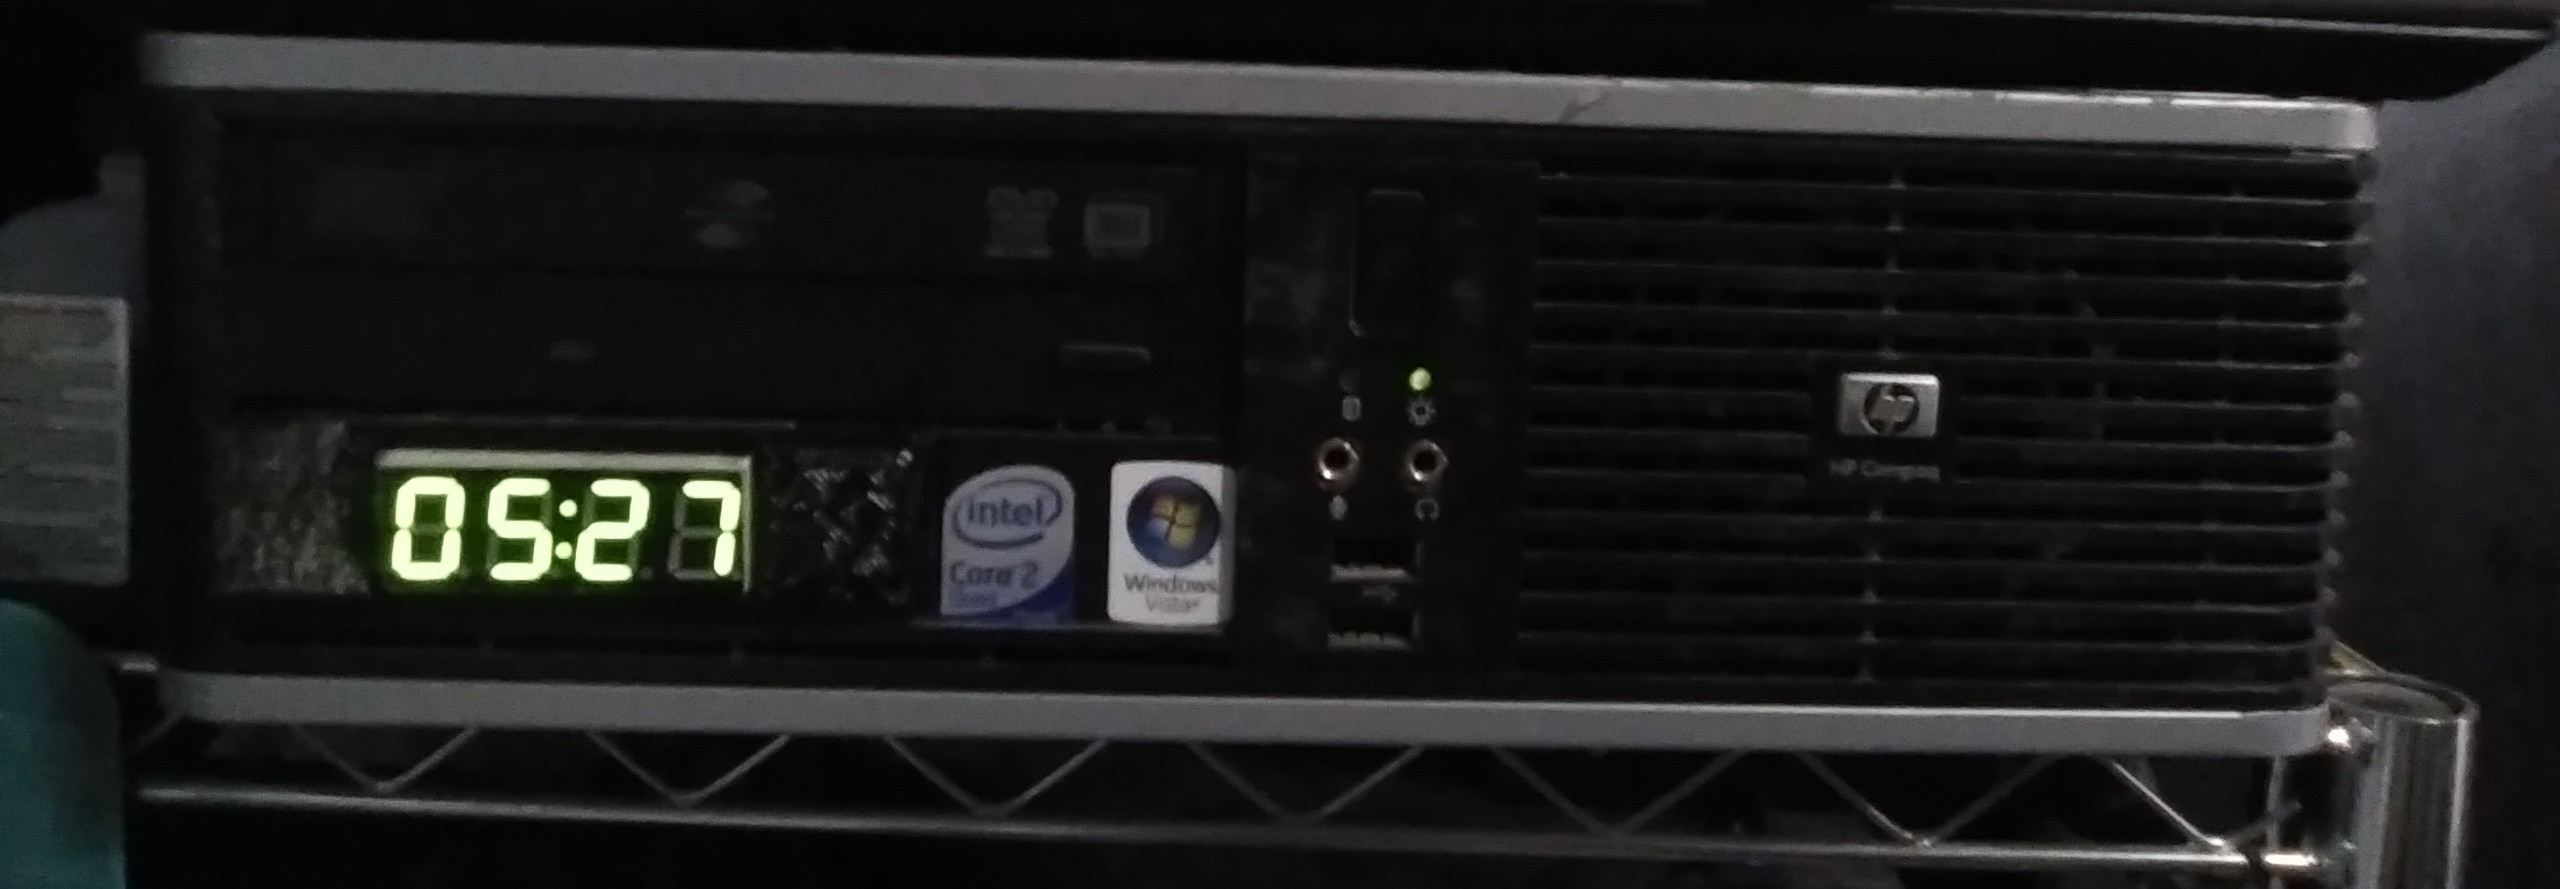
Please tag any build photos to my thingiverse model.
(the first link under Required Materials)
Warning:
READ EVERYTHING FIRST, you are going to be connecting
something you wired up to your PC! Understand what you
are doing before plugging it in! Improper wiring can
ruin the Arduino or even your PC. If you ruin something,
send those photos along too!
Required Materials
3D printed bay shell
0.56" inch TM1637
Arduino nano
KY-013 Analogue Thermistor (Optional)
USB mini cable for arduino nano
female jumper wires (or solder and wires)
Code to run clock and server
PC with a 3.5 bay wouldn't hurt either
hacksaw or something to trim the TM1637
a sharp knife
Assembly
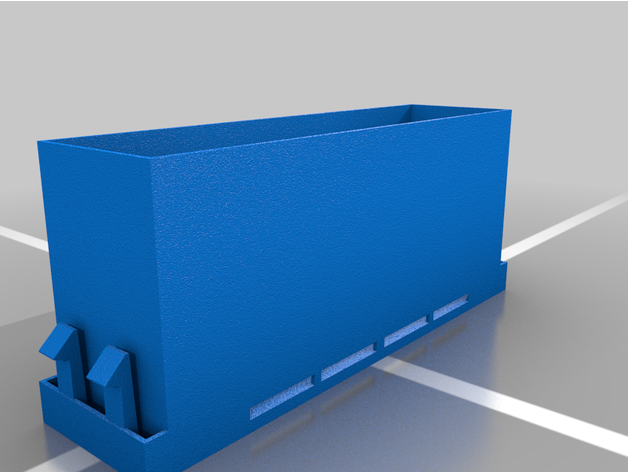 The bay shell should be 3D printed. If you don't own
a 3D printer, a local school or library may be able
to help. Otherwise, a service like shapeways.com
does on demand 3d printing. The three supports on
each side are meant to be cut off, they offer a
drop in slot for the LCD board.
The bay shell should be 3D printed. If you don't own
a 3D printer, a local school or library may be able
to help. Otherwise, a service like shapeways.com
does on demand 3d printing. The three supports on
each side are meant to be cut off, they offer a
drop in slot for the LCD board.
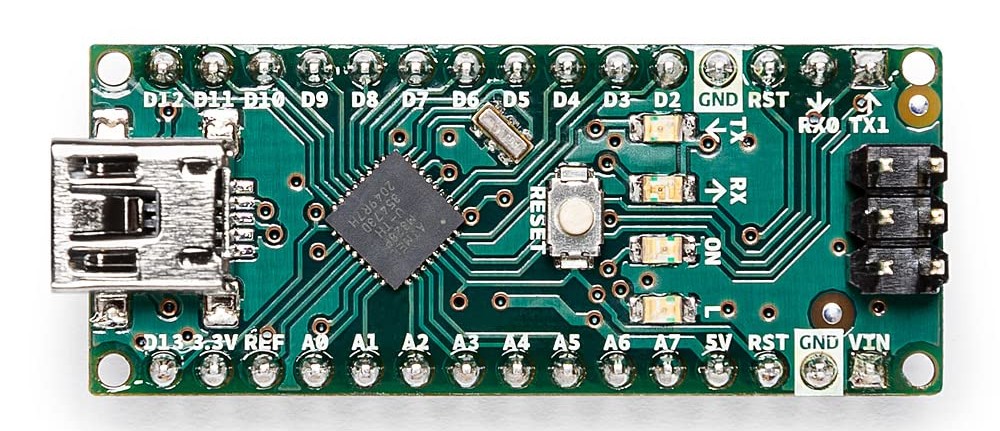 This is the Arduino Nano. It's a good idea to read up
on it and learn how to program one before going ahead.
This is the Arduino Nano. It's a good idea to read up
on it and learn how to program one before going ahead.
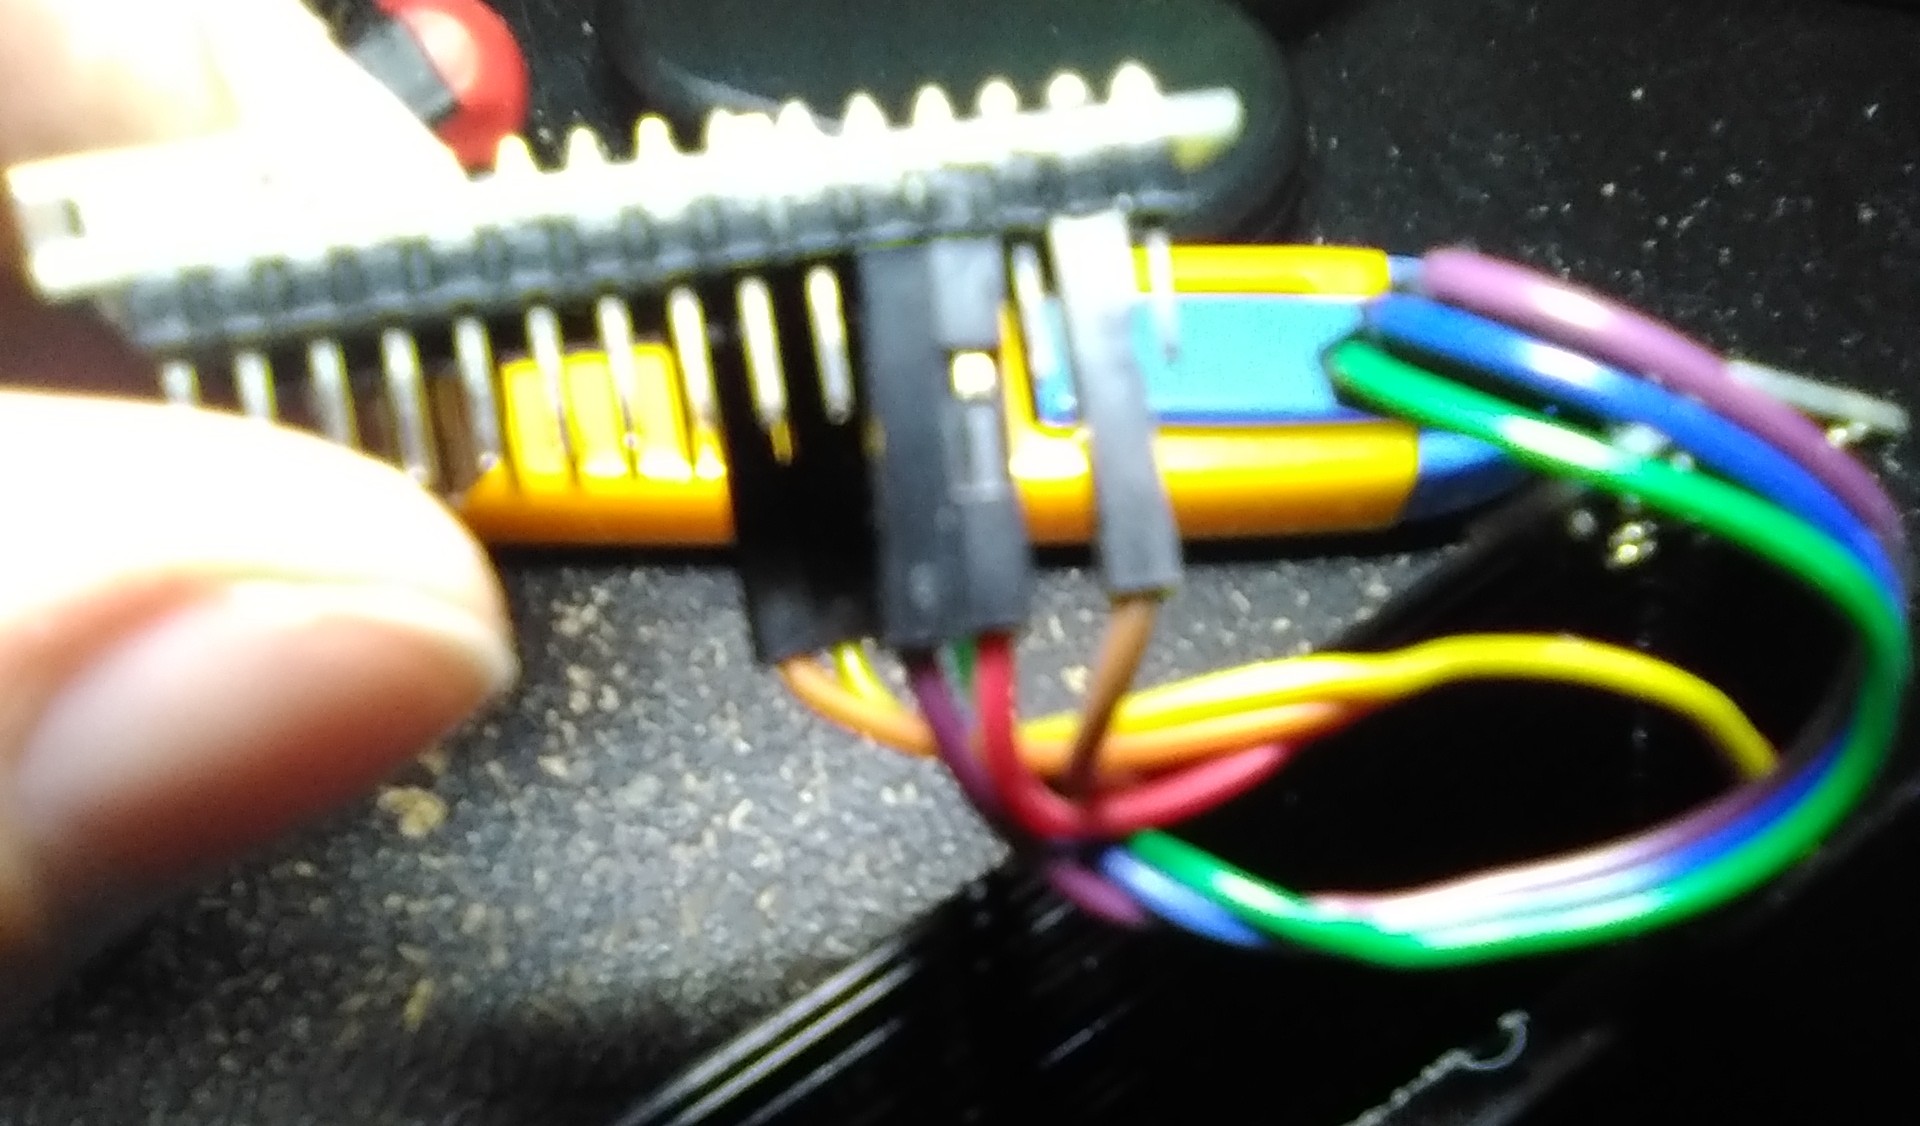
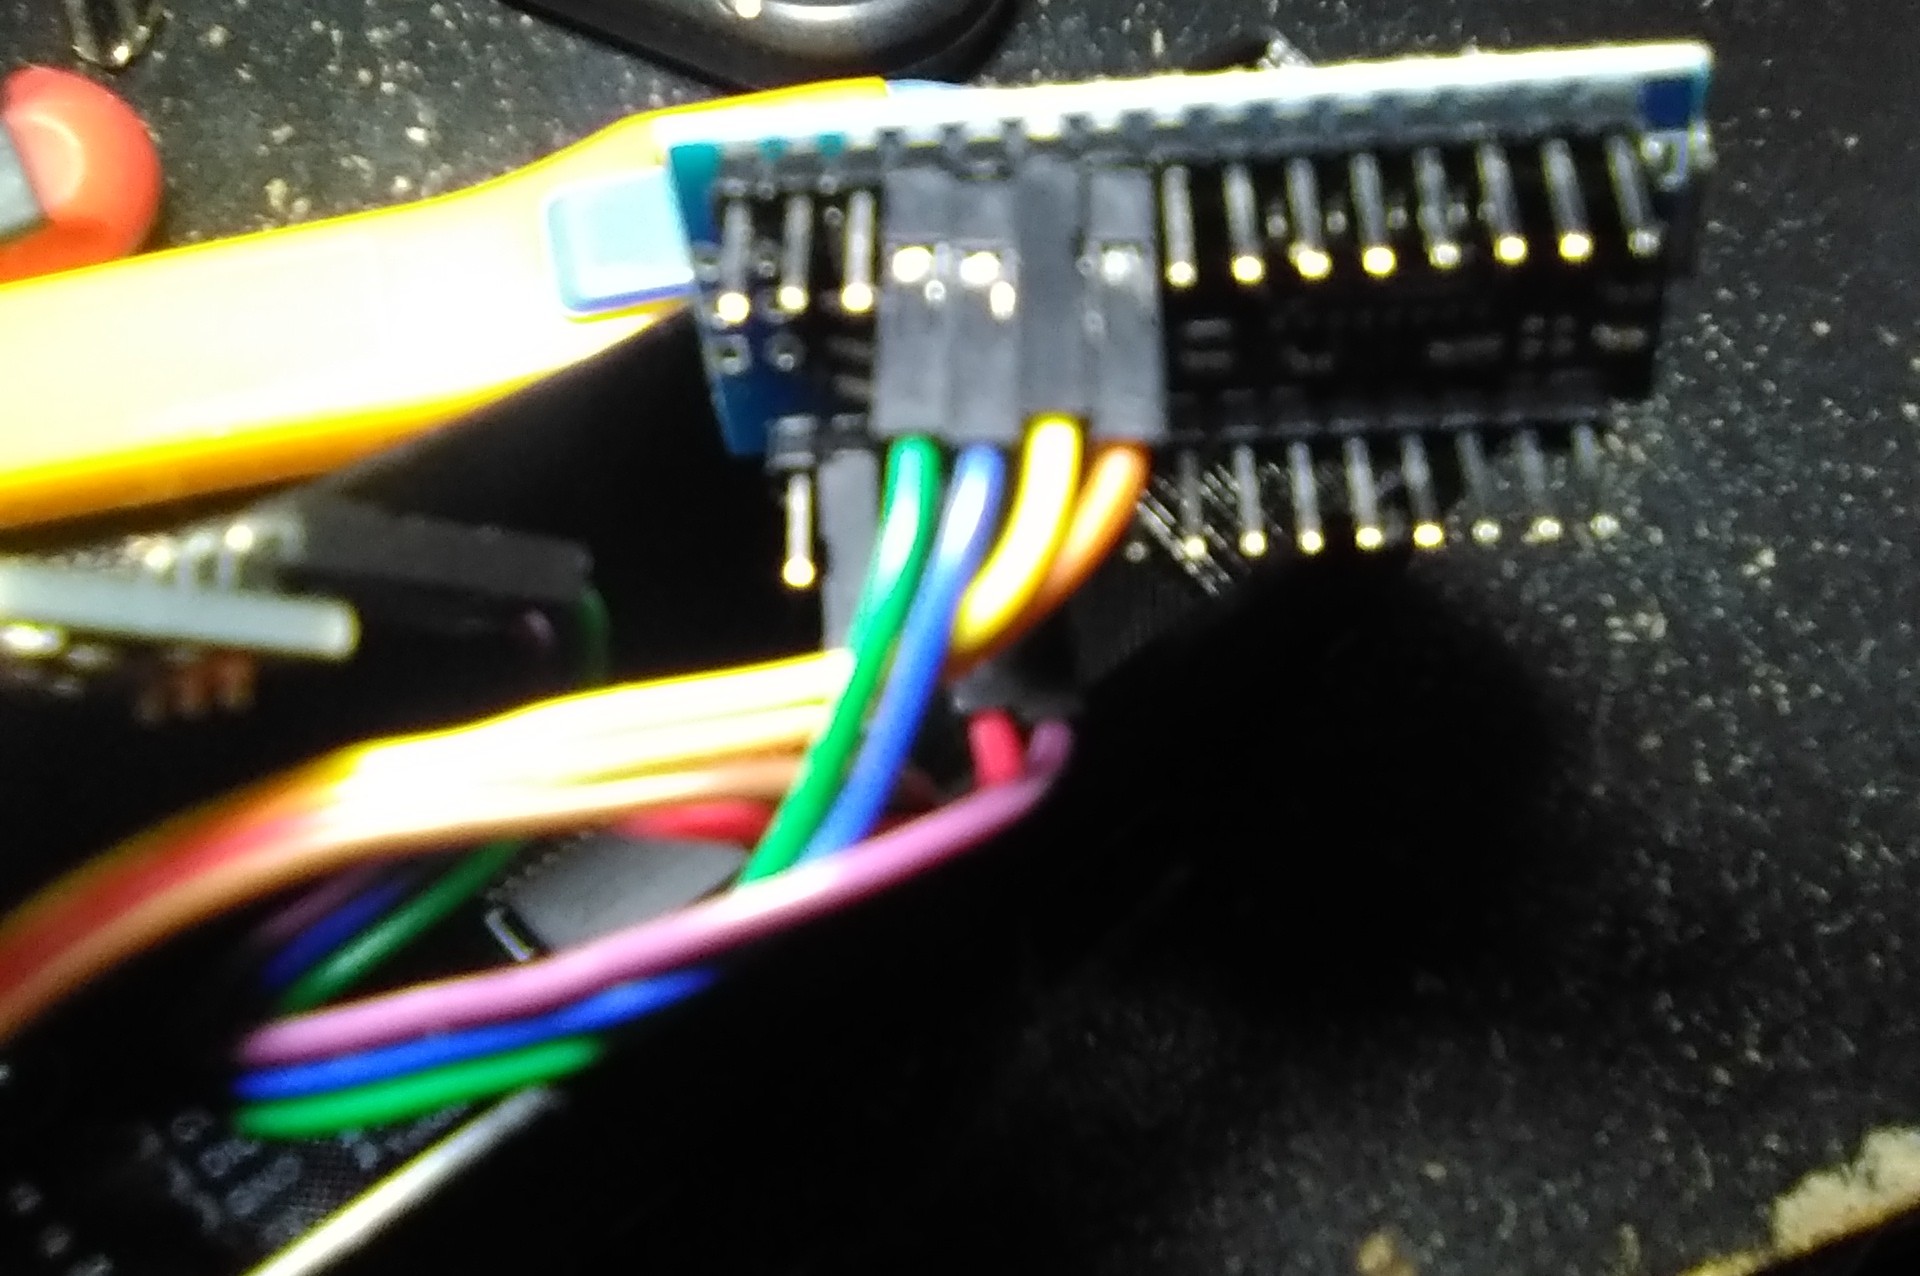 Wires on the arduino:
Green D2
Blue D3
Yellow D4
Orange D5
[ YES, the photos are blurry! My phone
has a camera like a flip phone. ]
Wires on the arduino:
Green D2
Blue D3
Yellow D4
Orange D5
[ YES, the photos are blurry! My phone
has a camera like a flip phone. ]
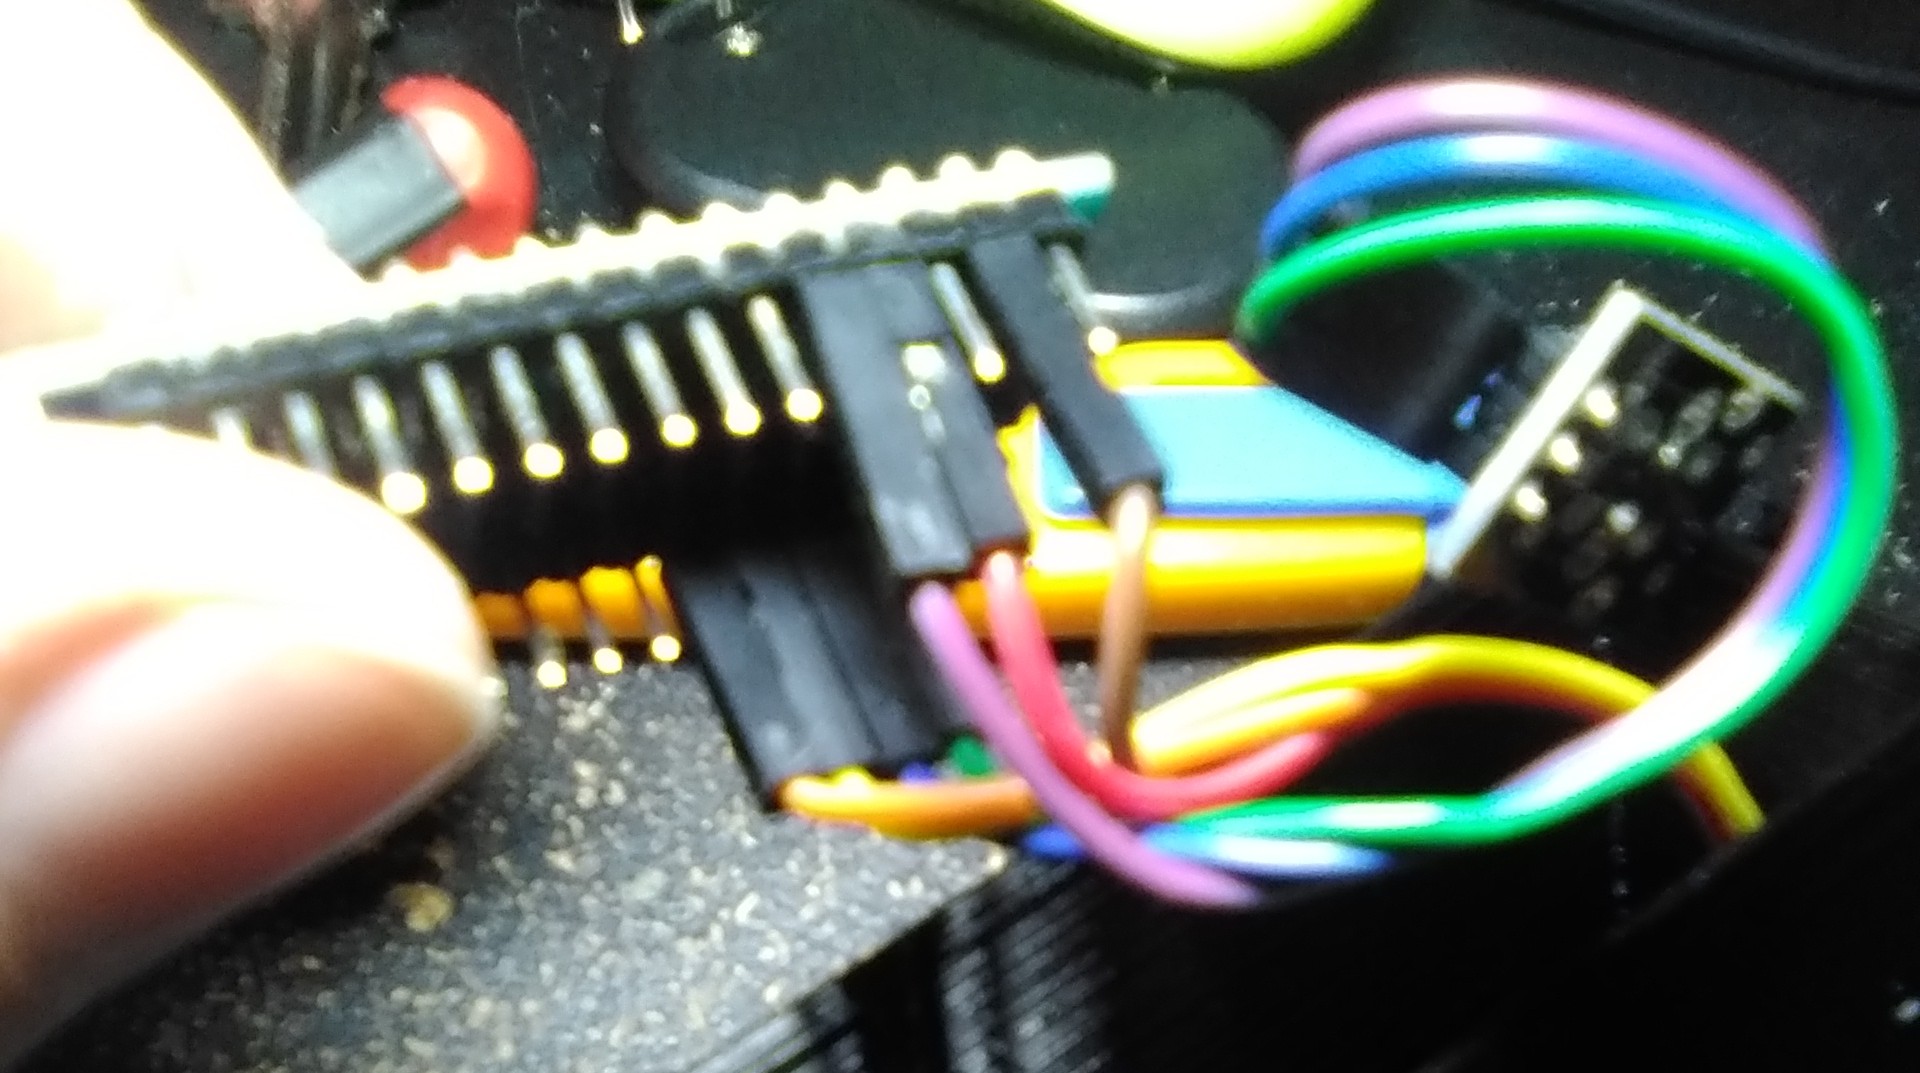
 Wires on the arduino:
Purple A7
Red 5V
Brown Gnd
Wires on the arduino:
Purple A7
Red 5V
Brown Gnd
 Wires on the temp sensor:
Purple -
Blue +
Green S
Wires on the temp sensor:
Purple -
Blue +
Green S
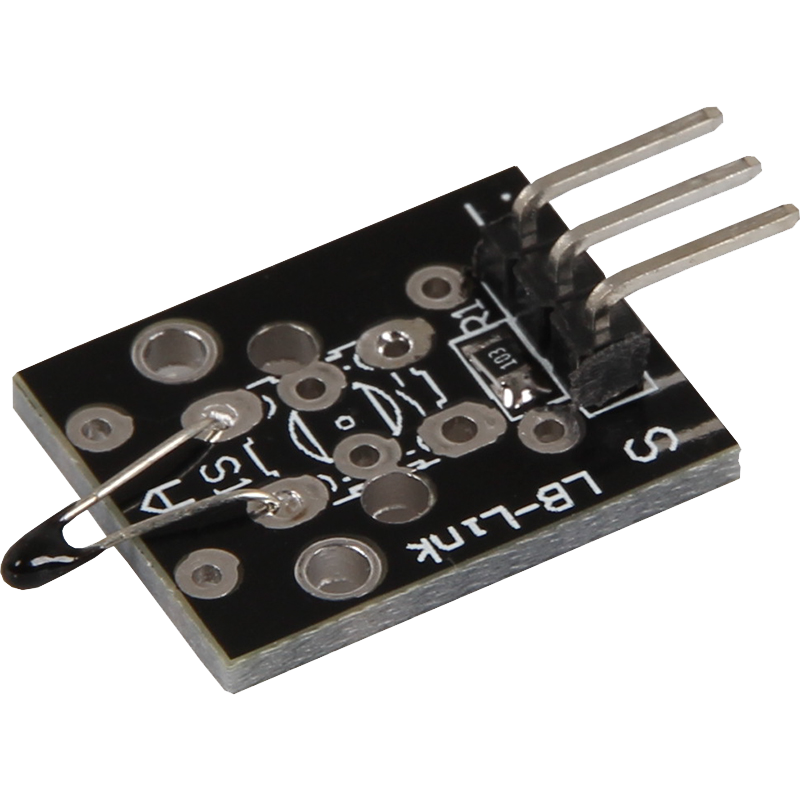 Sometimes - and S are swapped/labelled wrong. This
is for the temperature. If you just want the clock,
leave it out of the build.
Sometimes - and S are swapped/labelled wrong. This
is for the temperature. If you just want the clock,
leave it out of the build.
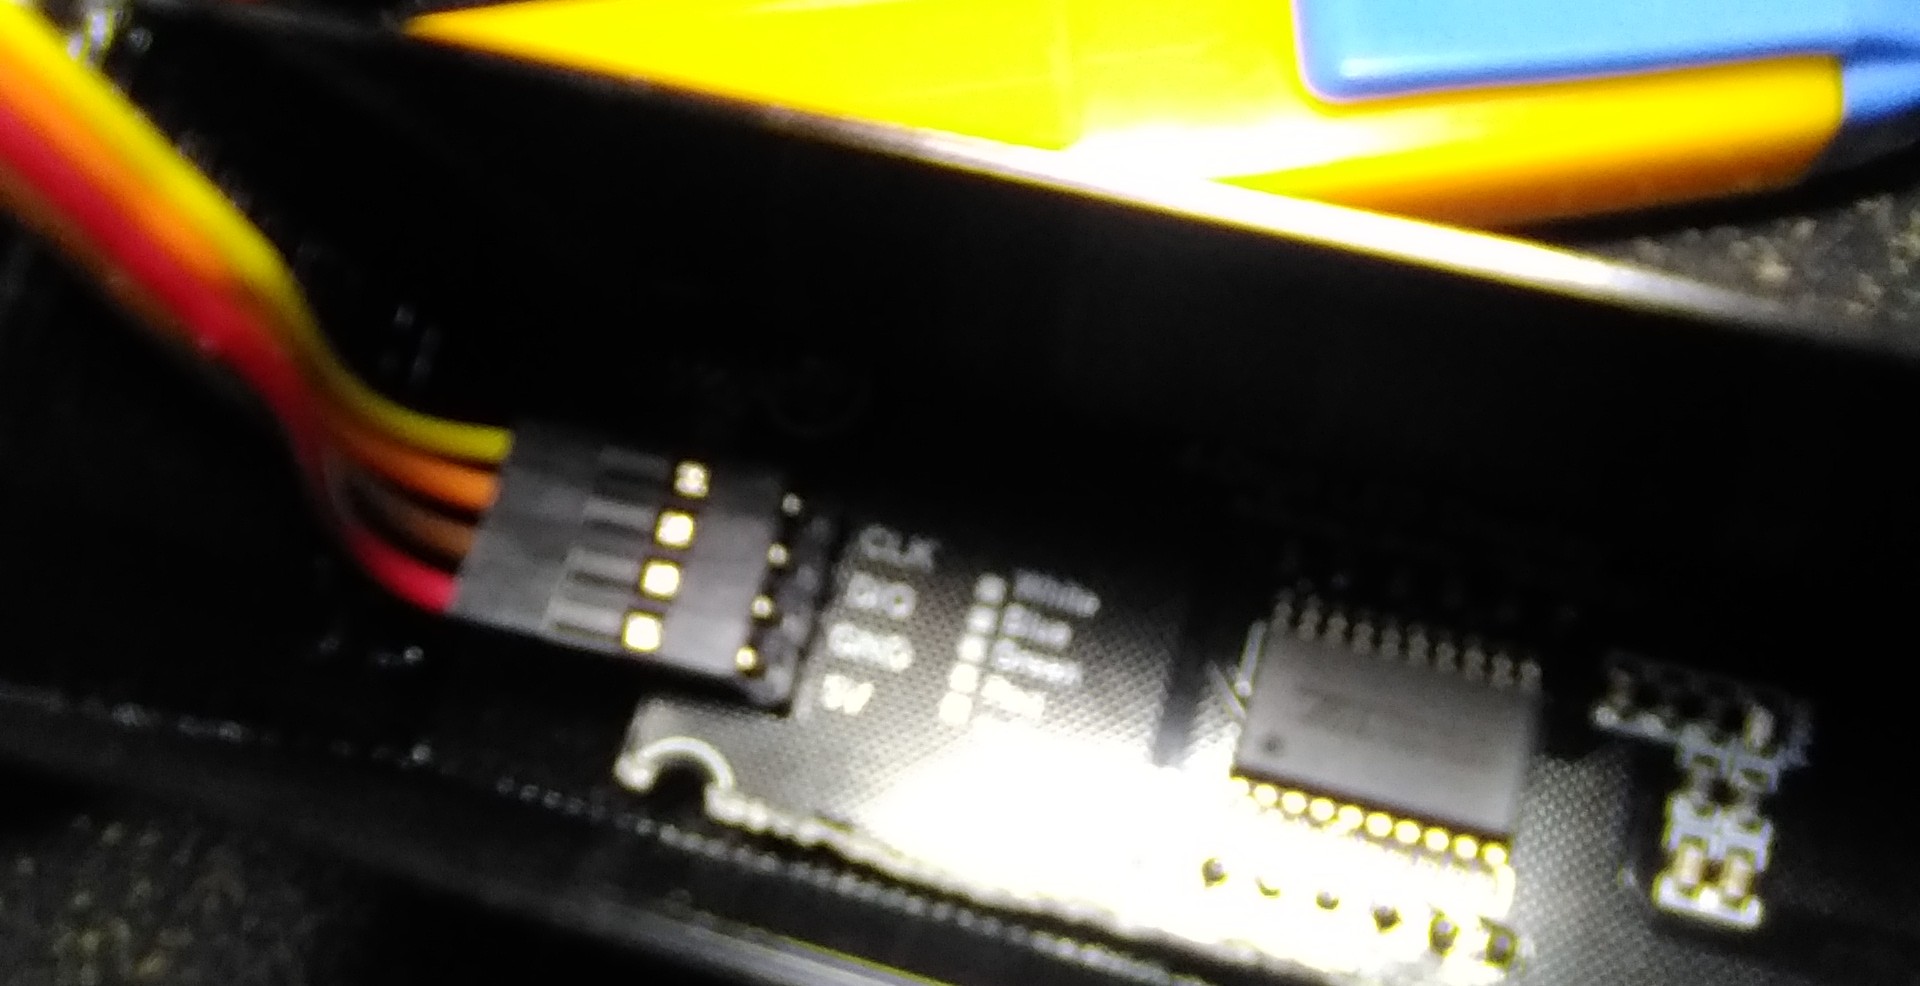 Wires on the LED module:
Red 5V
Brown Gnd
Orange Dio
Yellow Clk
(you can see the trimmed bottom here)
Wires on the LED module:
Red 5V
Brown Gnd
Orange Dio
Yellow Clk
(you can see the trimmed bottom here)
To recap, the wires are:
LCD to nano:
Red, 5v on nano and LCD
Brown, Gnd on nano and LCD
Orange, Dio on LCD, D5 on nano
Yellow, Clk on LCD, D4 on nano
Optional temp sensor:
Purple, Minus - on temp, A7 on nano
Blue, Plus + on temp, D3 (or 5v) on Nano
Green, S on temp, D2 on nano
Client Arduino Code
This is the code to control the arduino, LED
clock and read the temp sensor over USB.
You will need to install two libraries as mentioned
in the #includes.
Server PC Code - Python
This code is what has to run on the PC to push the
time, request the temp or write 4 letter words to the LCD.
The arduino will do pretty good by itself if you just
set the clock at startup and cllose the server. However,
if you always leave the server running in the background,
it will keep the clock drift down as it checks the internet
time servers. Plus you can check the temp or send a word
at any time if the server is running (see below).
The server requires Python3,
Linux machines usually have it already installed.
You will need the extra libraries, the linux commands
are provided in the code. I haven't used python with
windows or mac, so you'll have to figure out that.
You need; python3-serial python3-pip pynput pygetwindow
to start the server:> python3 clock.py
This code runs a simple webserver on port 1666.
Visit http://127.0.0.1:1666/temp to get the temps.
You can also send custom 4 letter words to the LCD.
Use the url: http://127.0.0.1:1666/mFOOD
-replace FOOD with the letters or numbers you like.
You only need the server to set the time on boot up,
the arduino will do a pretty good job keeping time
afterwards. However, if you switch to daylight saving
in your area, it's better to run the python as a
background service. This way the time will always
match the PC time. Also you can set your PC to
update the clock via an internet time server, this
also helps prevent time drift.